I had read about Project Life a while back, but I was afraid it would be hard to keep up with. You see, I still have a scrapbook, complete with sorted photos & page layouts selected from the six-year-old’s first year. It is in a box, with only a couple of pages done.
However, the more I read about Project Life, the more do-able I thought it sounded. So, I decided to give it a shot for this year. I only bought a few things, and dug some other things out of their box from my previous (brief) foray into scrapbooking. Here’s what I got to start out:
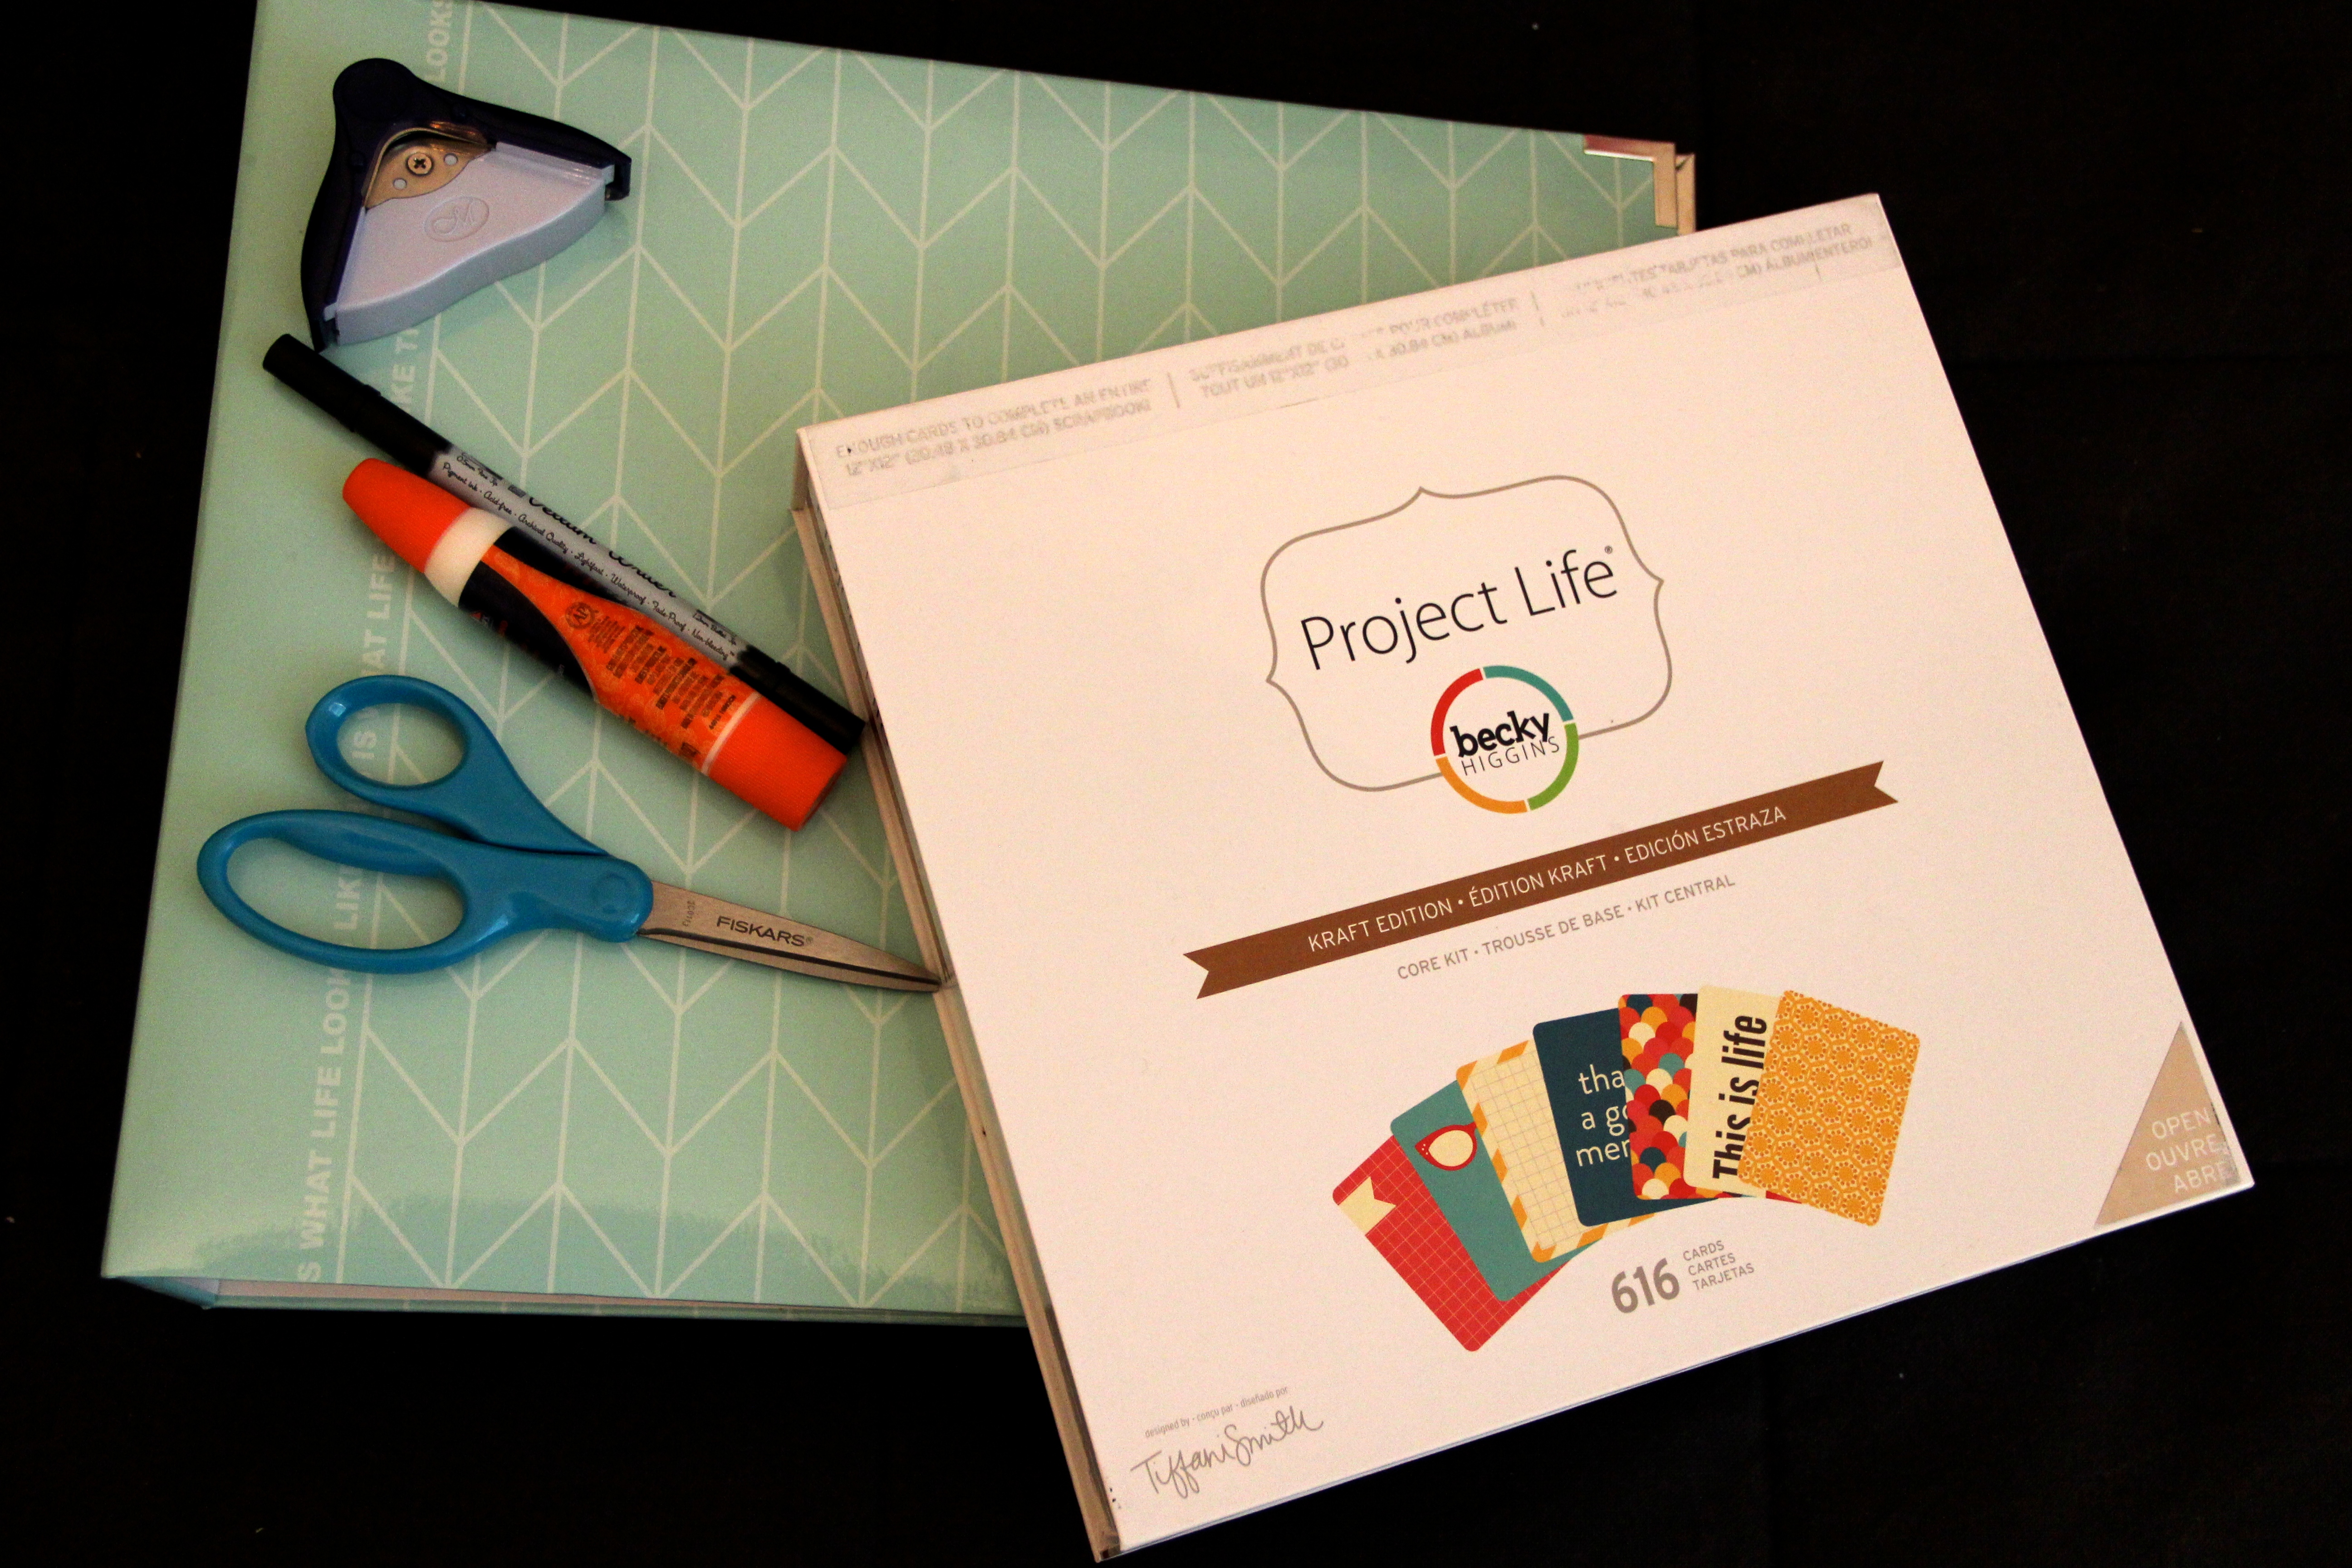
1. A project life book
2. Layout A page protectors. I thought it would be easier to use only one layout. This makes it easy for me to remember the sizes of the pictures I need to print for each page.
3. A core kit in Kraft. I liked the Kraft and it was on sale at the time, so I went with it.
4. A corner rounder. This isn’t essential, but I like how the rounded corners look on the photos.
5. Scissors & glue. I didn’t have paper scissors (only fabric ones & my rough kitchen scissors), so I picked up a pair. I really like this dual tip Elmer’s glue pen. It allows you to easily apply glue to larger surfaces or smaller ones.
6. Archival pens. I use black pens mostly, so far. I already had the one pictured and a couple of others. I’d like to pick up some pretty gel pens, but haven’t, yet.
7. Photo paper. I print my photos at home, but other folks have them printed on a regular basis for their layouts. Either option works well.
I have found these tools do everything that I need for my Project Life layouts. So far, I love the flexibility of the format, and how easily the pages come together! The boys also love looking at each layout, and pull out the book often, so I know it will something we all enjoy looking at in years to come.

we will enjoy seeing
the book.